


Be Prepared! That motto is as important for Active Seniors (and anyone else) heading for an outdoor adventure as it is for Boy Scouts.
When we started getting more active outdoors, we read Tim’s article on the need to carry a daypack with an emergency kit every time you leave the road behind. We immediately put our own together. We added one thing – a space blanket. By the way, if you’re not familiar with a space blanket, it’s a thin mylar sheet covered with reflective aluminum, all folded up. You can find them in any sporting goods store. A space blanket is good for wrapping up in if you get stuck out on the trail and need to keep warm. It weighs almost nothing and takes up very little space. There are various types available; Campmor has a good selection.
Then we decided we needed an emergency medical kit as well, and started researching them. What we found is that you can buy a pre-made one at a sporting goods store or a drugstore, but they generally have things you don’t want, and there are things missing that you might need. Besides we found them to be a bit costly, so we made up our own. You can do the same easily enough; take a look at our list, leave out what you don’t need, add anything else you prefer (for instance, we don’t have allergy issues so don’t need an EpiPen, but you might).
Disclaimer – if you need to use the kit on the trail, be sure to get the injury checked by medical personnel when you get back to civilization. You don’t want to end a nice trip with a nasty infection or develop complications because your first aid kit couldn’t handle the situation.
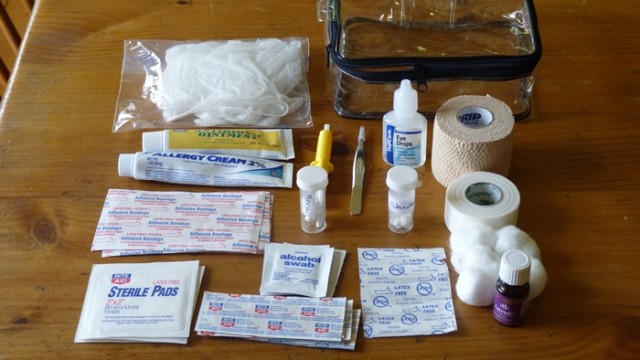
Here we go:
1. Two pair of protective gloves – in case you need to help someone else. Always use them if you might be handling ANY body fluids.
2. Four alcohol swabs – for cleansing wounds and scrapes.
3. Antibiotic ointment – apply to wounds and scrapes after cleansing.
4. For covering wounds – 4 large adhesive bandages, 6 regular adhesive bandages (also good for covering blisters AFTER you cleanse them), 4 sterile pads, and adhesive tape (1 inch is wide enough). Flexible fabric or “sport” bandages are better than the older plastic type; they tend to stick better and stay on longer.
5. Six butterfly bandages – for pulling the edges of a wound together. If you are not familiar with butterflies, they are a wonderful tool. They are shaped like a small Band-Aid, but in place of the pad they have a very narrow piece of adhesive. After you cleanse the wound and realize that it’s wider than you first thought, stick one side of the adhesive close to one side of the wound, pull slightly so the narrow part of the butterfly is over the wound, and stick the other part of the of the adhesive to the skin on the other side. It pulls the wound edges together nicely. Try it at home before you go so you’ll feel comfortable if you need to use it on the trail. Not only will it close the wound, but it’ll likely leave less of a scar than if you don’t use one.
6. Self-adhering tape – sticks to the skin or to itself. Good to wrap around a sprain. Be careful not to pull it too tight and cut off the circulation. You can also use an ace bandage.
7. Tweezers – for splinter removal, not for plucking your eyebrows! Uncle Bill’s Sliver Grippers are a good choice; they have a protective end that keeps them sharp and helps them to not poke holes in everything in your kit.
8. Tick pullers – for guess what? Tick removal! Always put the tool close to the skin under the tick, and pull the tick away gently. That way you should be removing the head. Ours looks like a syringe with tweezers on the end. It works, but we’re going to replace it with the Ticked Off, which has a a little plastic spoon with a slot cut in the side. Very neat and easy to use!
9. Sterile eye drops – if you don’t have access to good clean water, and you get a foreign object or sunscreen in your eye, you can use these drops to flush out the eye, or to get dirt out of a wound before you use the alcohol swabs.
10. Allergy cream for rashes and itches that poison ivy and other charming plants cause.
11. Allergy pills – Claritin, Benedryl, etc, for allergic reactions.
12. Ibuprofen, Advil, Tylenol etc. for sore muscles and other hurts. Tylenol isn’t an anti-inflammatory, so you may want to consider one of the other types, unless you are on blood thinners and can’t use ibuprofen.
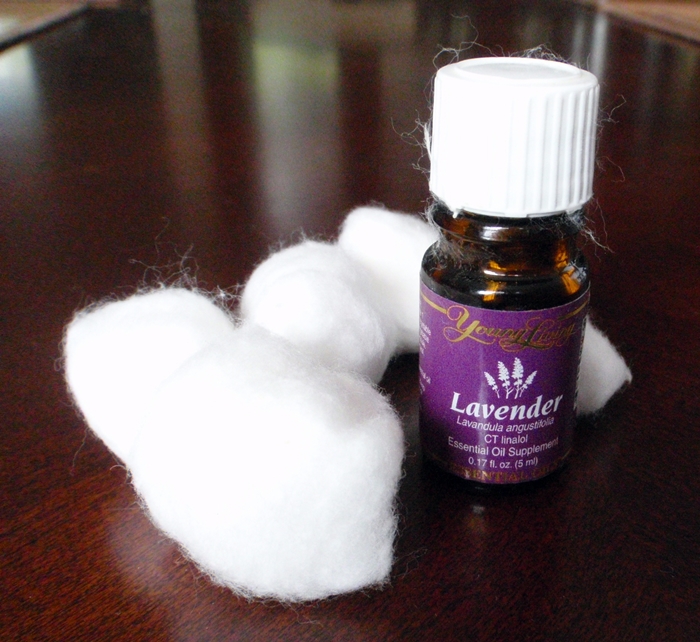
13. And now for Edie’s all-time favorite – lavender oil! She’s talking about the essential oil that you buy in a health food store, not a cosmetic or scented oil. You use it externally only. Put a few drops on a cotton ball (we have a half dozen in our kit) and pat on a burn; use as an antiseptic on cuts; use on sore muscles; put the cotton ball in your ear for an earache; inhale it for a stuffy nose; and if you can’t sleep, put the cotton ball on your pillow and let the scent waft you to dreamland. Your sleeping bag will smell SO good the next day, too! If you start using lavender oil, you will begin to use it for lots of other things, too. Warning: some people are allergic to the oil, so try it at home on a small spot of skin before committing to its use.
One item we don’t have in our kit, but is highly recommended if you do longer hikes, is blister-specific dressings. There’s nothing that can ruin a trip, particularly an overnight, like a bad blister. Good old moleskin will work to take pressure off a blister area; buy it in sheets and cut it to size when you need it, rather than getting the pre-cut pieces that may or may not work (assuming you carry a good knife or a multitool with scissors!). Better still is one of the high-tech blister dressings, which not only pad the wound but protect it from infection and speed healing; Spenco, among others, makes an excellent product that the editors of EasternSlopes.com have been using for years. If you’re hiking and start to feel a hot spot that could be turning into a blister, treat it before it becomes one if you can!
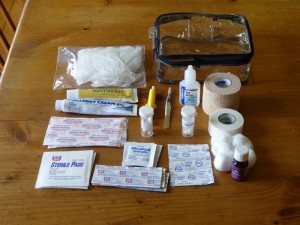
The whole kit weighs 12.5 oz. and fits in a plastic semi- soft container with a zipper that Edie found in a drawer. She thinks it used to hold hair rollers that somebody left here. It’s about 6 inches square and 2 inches high. Obviously, you can go out and buy something for your kit to fit into, but if you’re cheap like we are, look around your house first!
That’s our kit. We may add or subtract as we use it. If you like our ideas, use them – but feel free to make your own additions or subtractions. We would really appreciate your feedback or ideas, so please send them on; if you think of something we should have put in, we’ll happily modify our list. Happy trails!